|
Getting your Trinity Audio player ready...
|
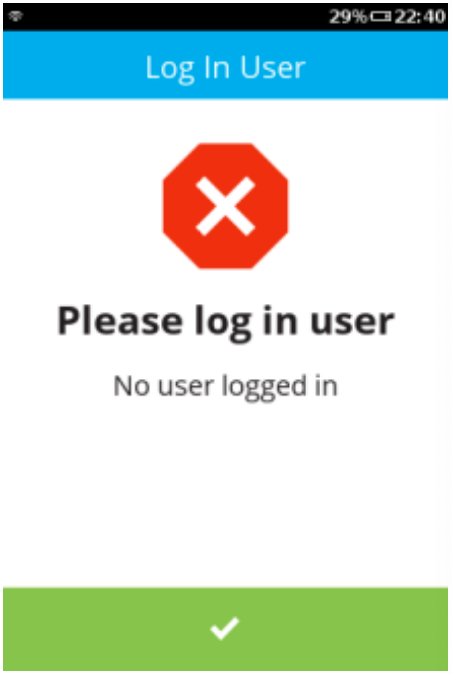
1. Either press “Green Bar” at the bottom of the screen” or press “Green Circle” or “Enter” button to enter the Main menu.
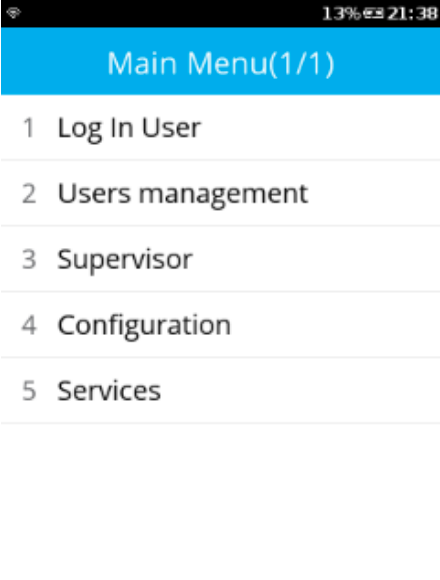
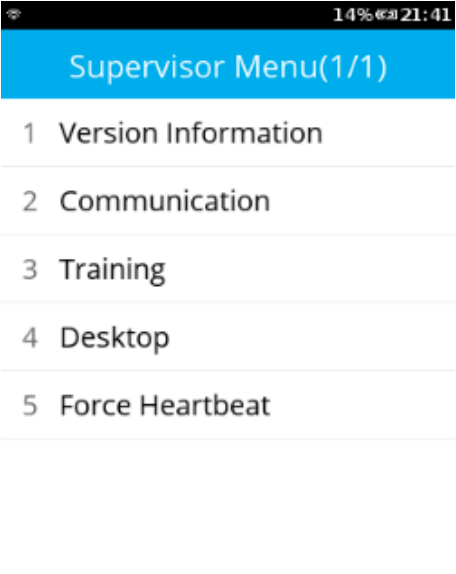
2. Press “3” to go to the “Supervisor” menu.
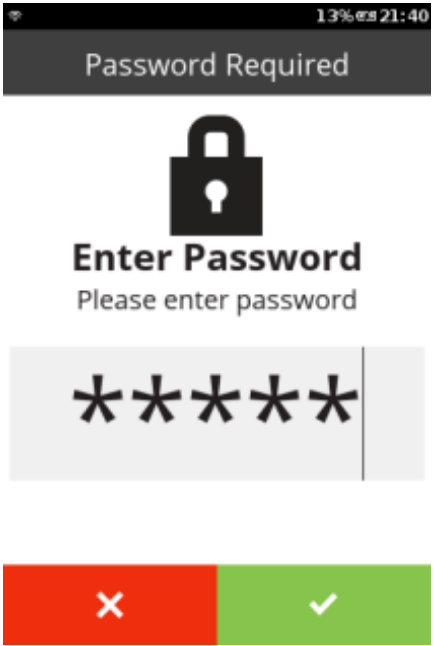
3. Enter the Supervisor’s password.
4. Press “2” to go to the “Communication” menu.
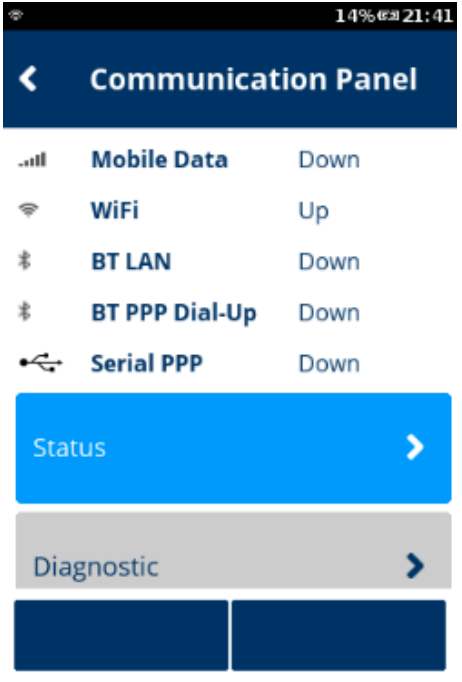
5. In “Communication Panel” menu, slide the finger on the screen upward to view the remaining options.
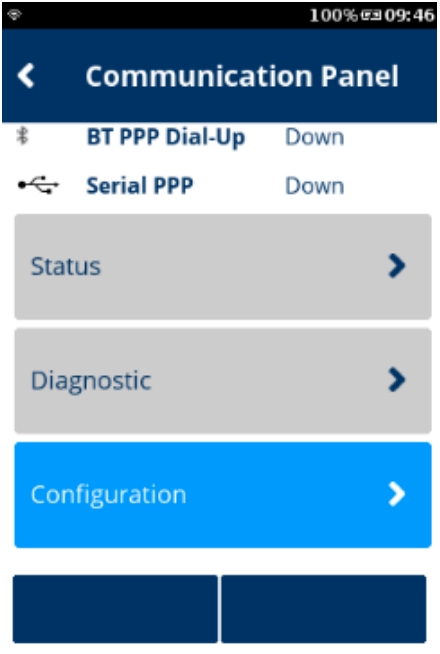
6. Select “Configuration” option. It should go to the “Configuration” menu.
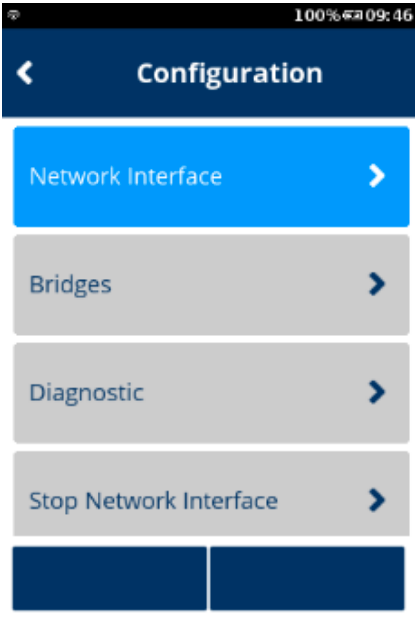
7. In the “Configuration” menu, select “Network Interface” option.
8. In the “Network Interface” menu, select “Bluetooth” option.
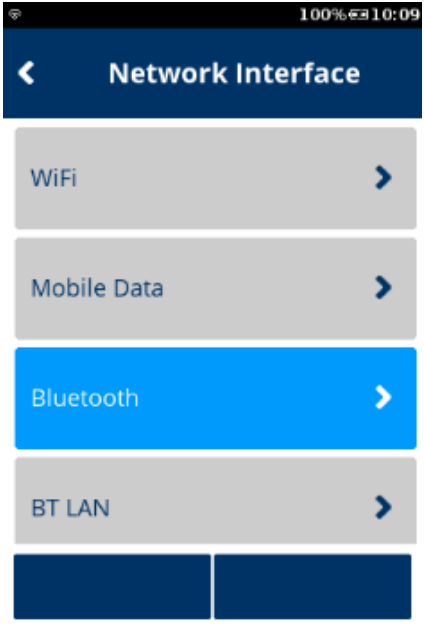
9. Pair with Base – Either:
- Dock the v240m+with the base, wait a few seconds then select Pair with Docked Base.
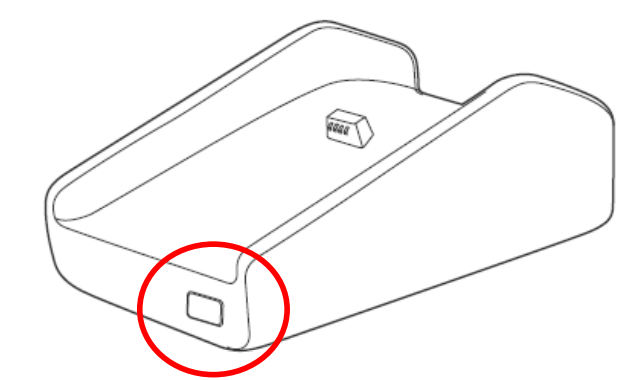
- Press the button on the front of the base and select Search.
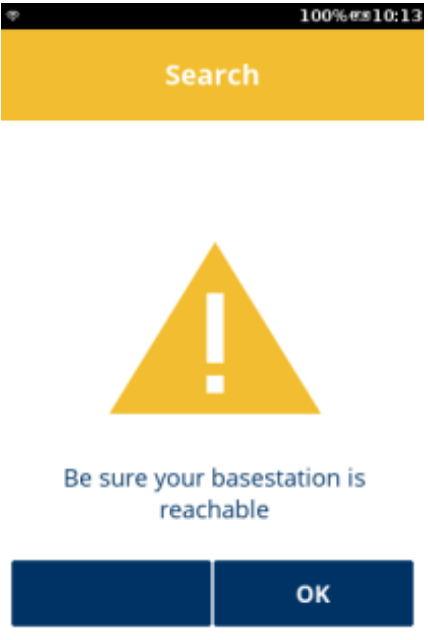
10. Tap “OK” to continue.
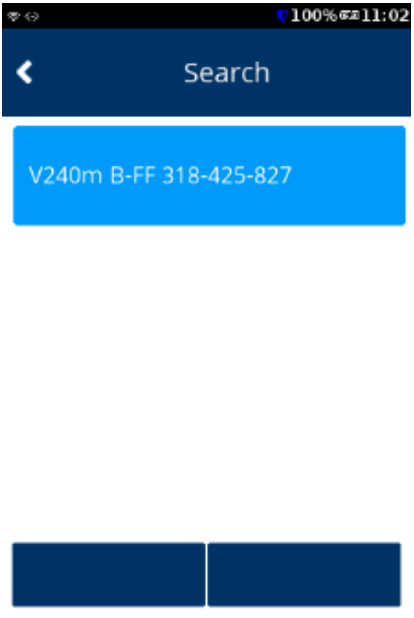
11. Once the device has completed the scan, select your target device for paring.
12. Tap “Yes” to confirm pairing.
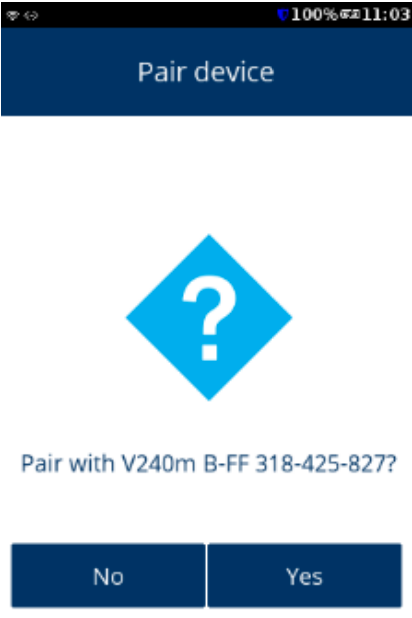
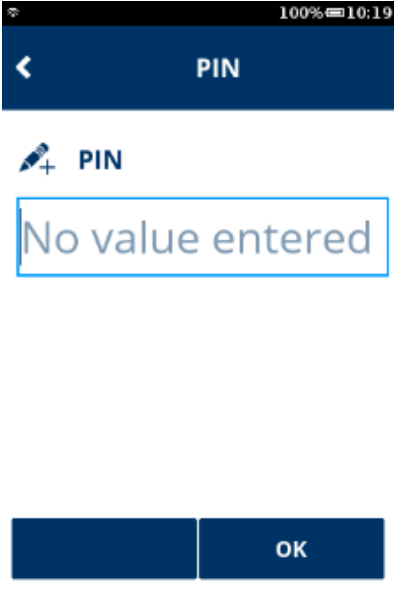
13. You will be prompted to add in the PIN of the base station (123456). Enter the PIN and Tap “OK” to continue.
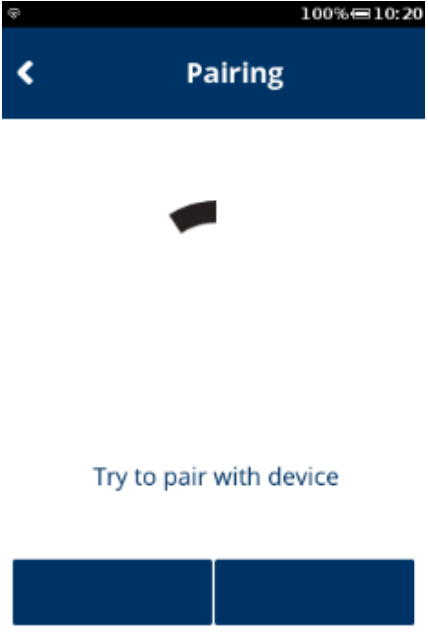
14. You should see on the screen that device is pairing.
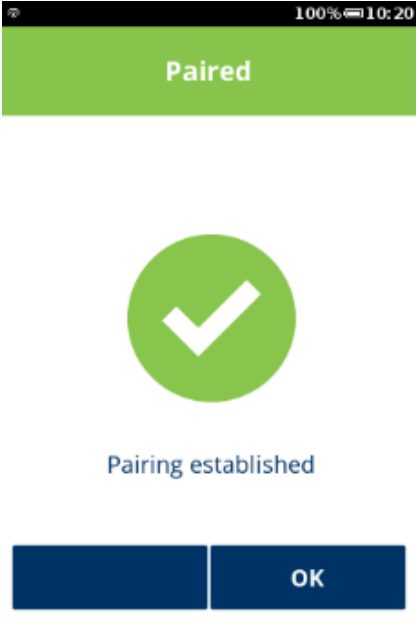
17. Tap “OK” to acknowledge that the device has completed pairing successfully.
18. To activate the Bluetooth connection if not done automatically go to the configuration screen again and select configure devices.
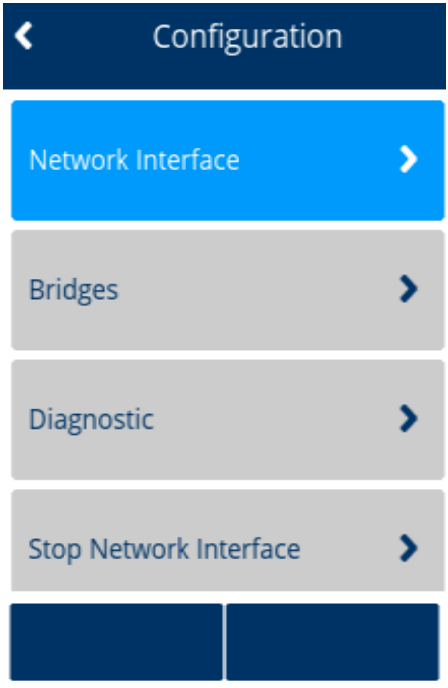
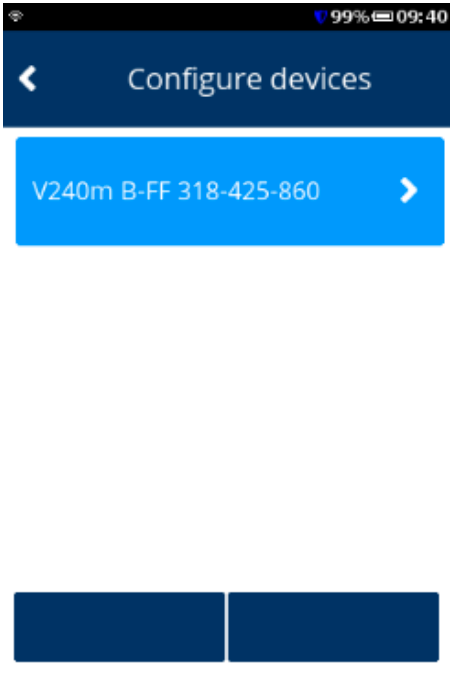
19. Select the base unit you’d like to activate.
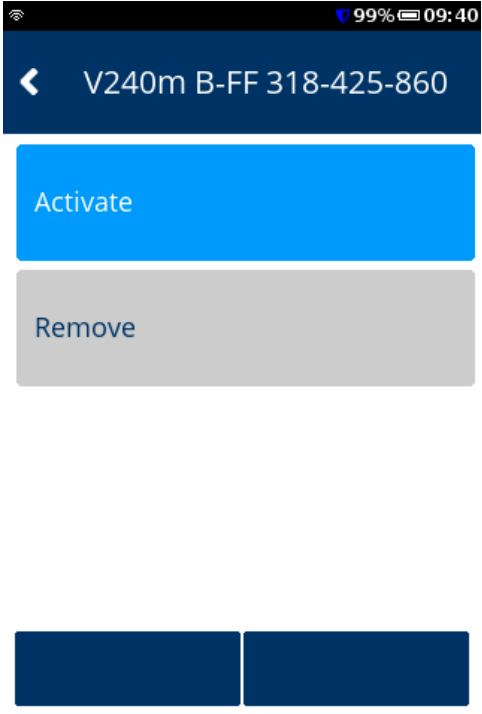
20. Select to activate.
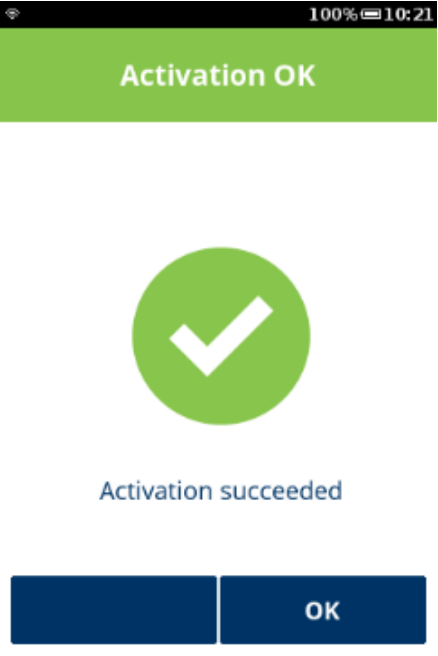
21. Activation will show as succeeded, press ok.
22. Now go back to the main network interface page and select BT Lan IPv4 or IPv6.
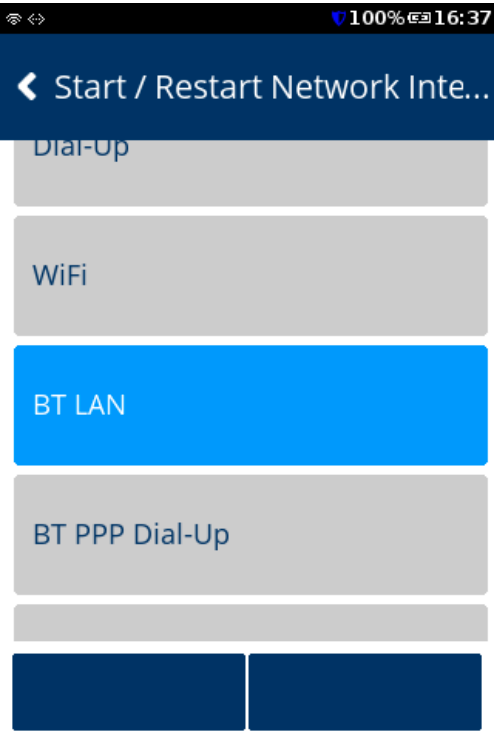
23. Select to enable, select Yes.
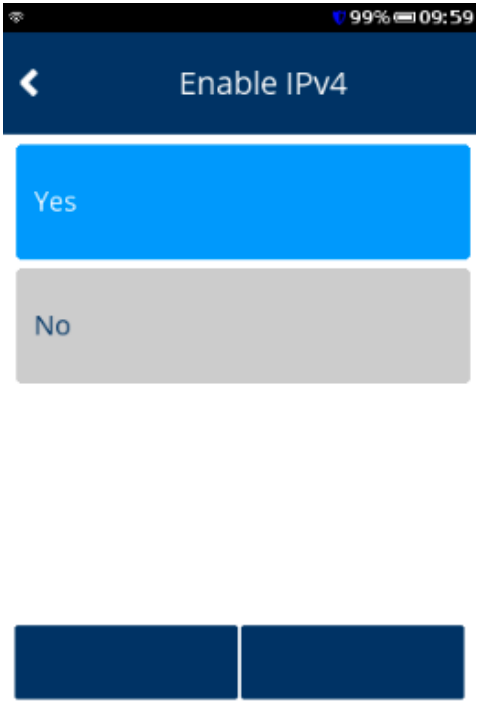
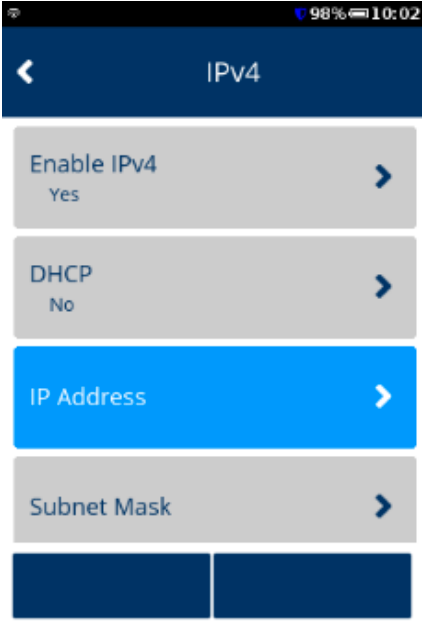
24. Please note, if you’d like to enter a static IP this can also be done here under DHCP setting select No.
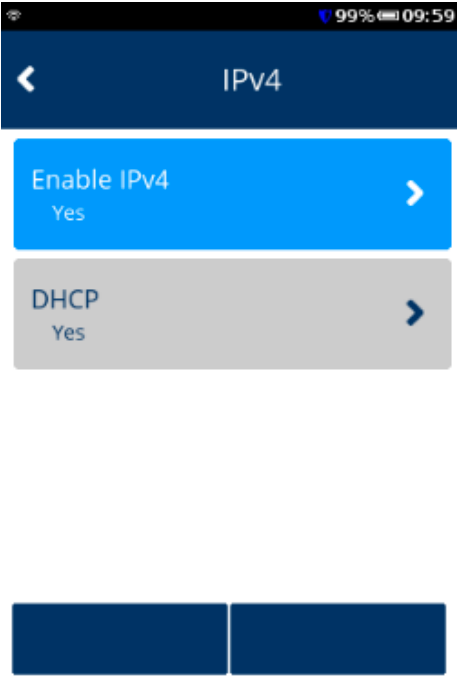
25. By selecting no you will get additional menu options to add in IP address, subnet mask, Gateway IP Address, DNS 1 and DNS 2 which you can now enter.
