|
Getting your Trinity Audio player ready...
|
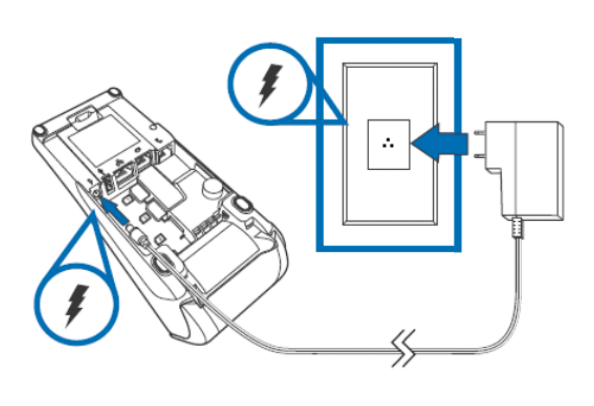
Follow the step-by-step guide on how to complete your V200C Verifone Ethernet Connection . To begin, please ensure the terminal is not powered on before making any connections.
1. Power
2. Ethernet
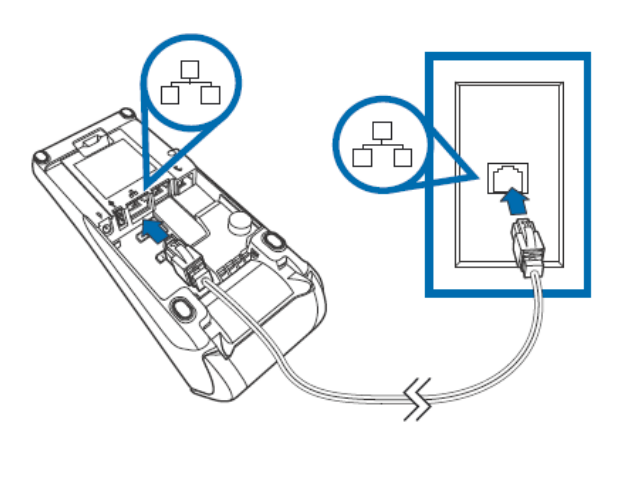
Your countertop terminal supports a direct wired connection to your router or Ethernet port.
In most cases, there is no configuration required as the terminal will configure itself automatically via DHCP.
Follow the instructions below
1. Turn on the device, by plugging the device in.
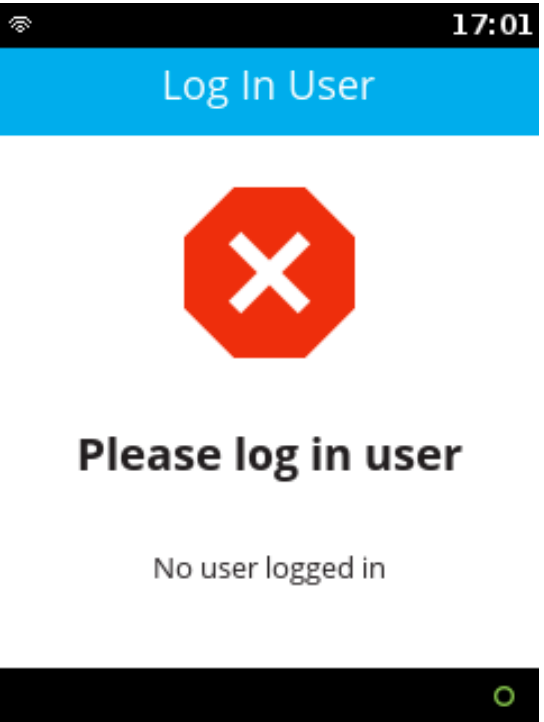
2. At the Please log in user screen press the red cross.
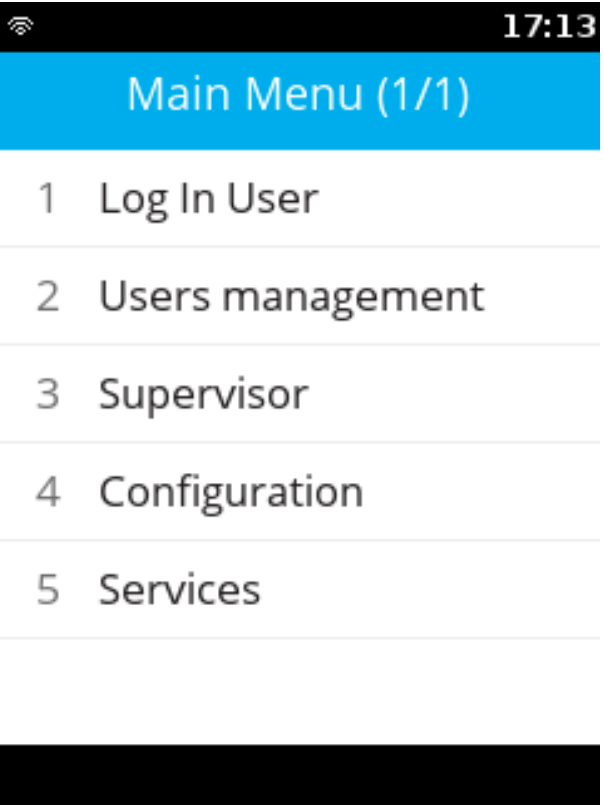
3. Select Option 3, Supervisor.
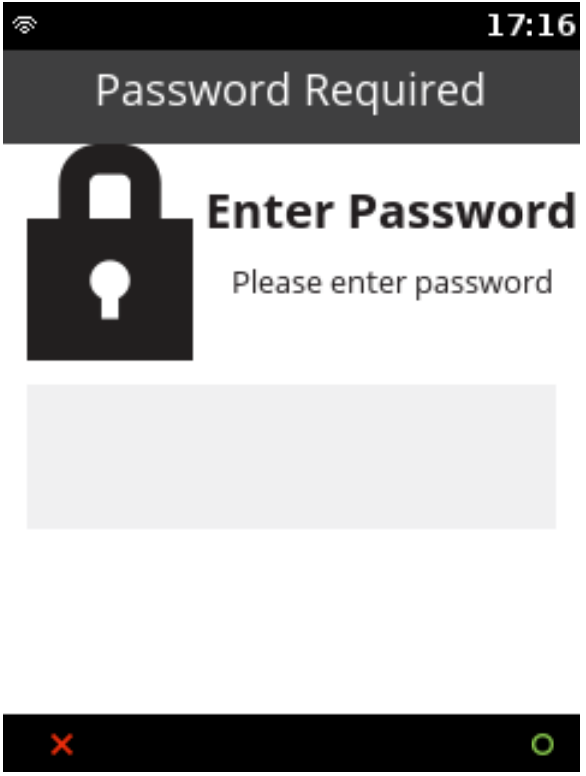
4. Enter the Supervisor Pin, the default Pin is set at 12345.
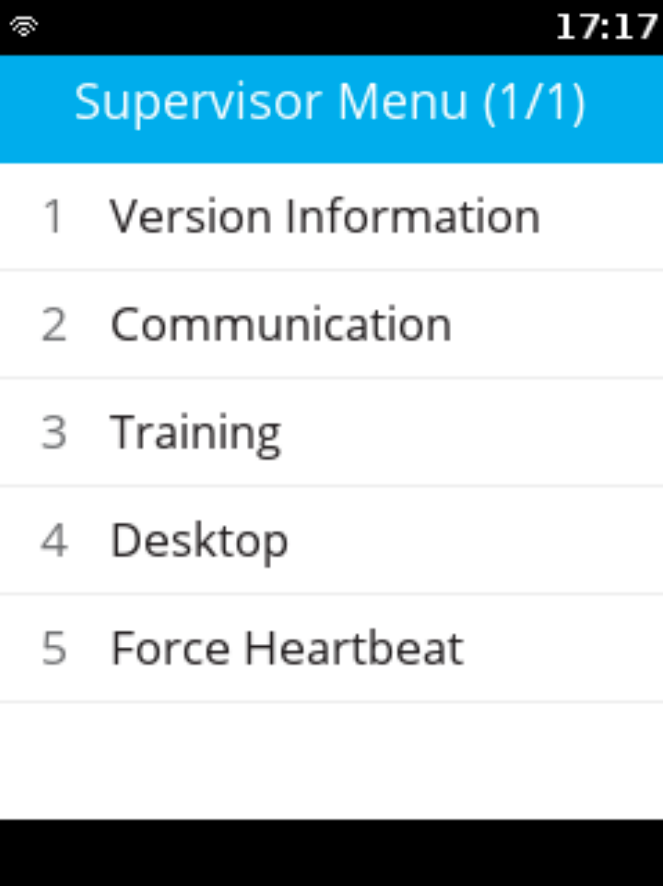
5. Select Option 2, Communication.
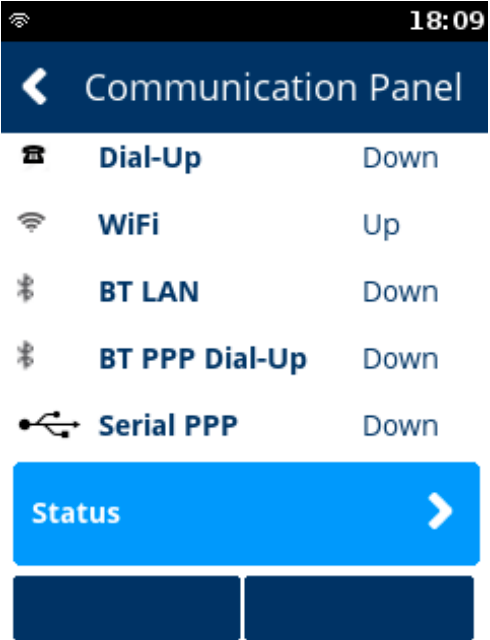
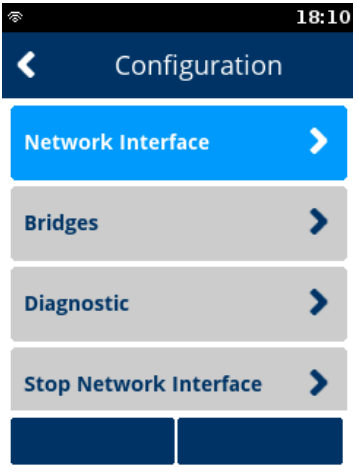
6. Select option 3, Configuration
The option will be off the main screen and will require the use of the navigation buttons to be used or press 3.
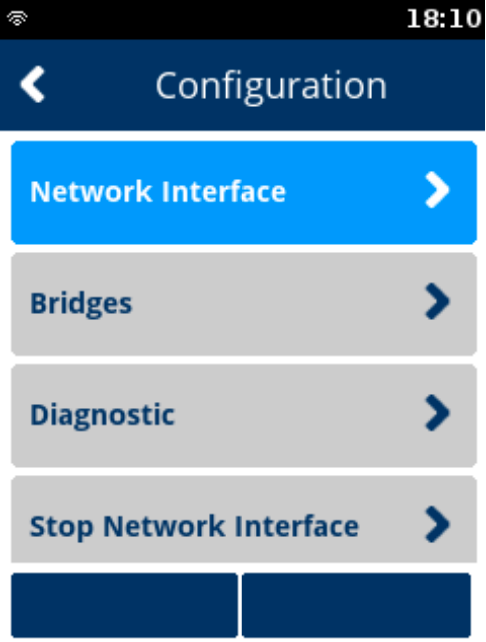
7. Select Option 1, Network Interface.
8. Select Option 1, LAN.
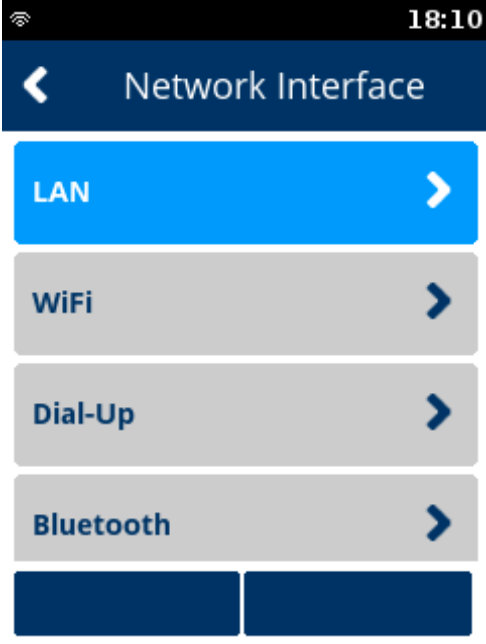
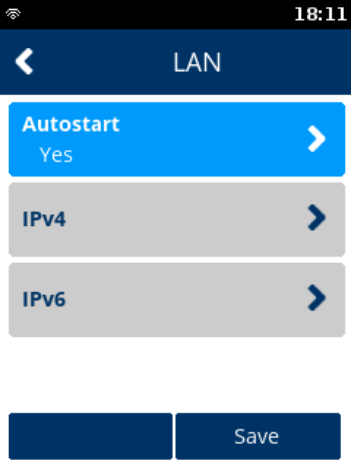
9. Select Option 1, Autostart.
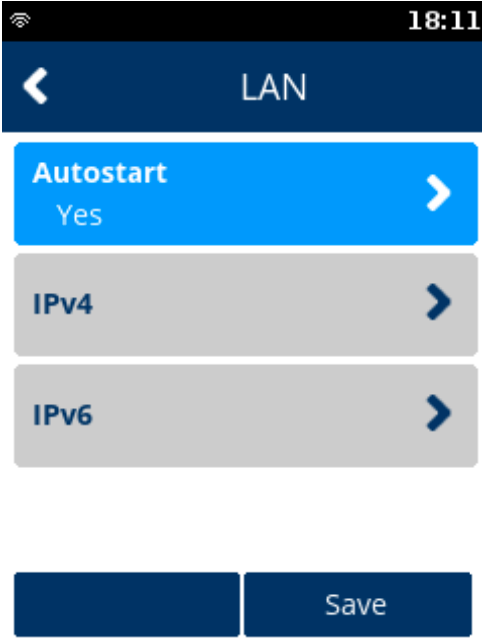
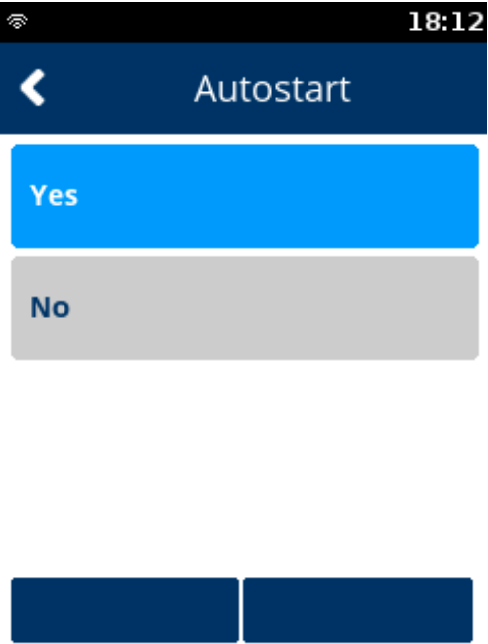
10. Select Option 1, Yes.
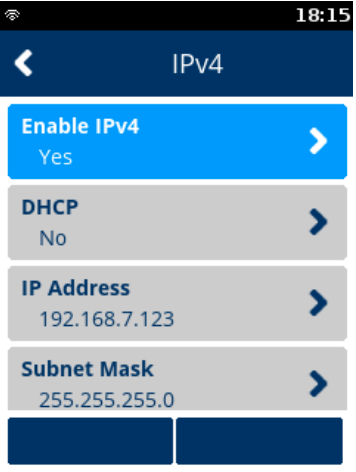
11. Select Option 2, IPv4
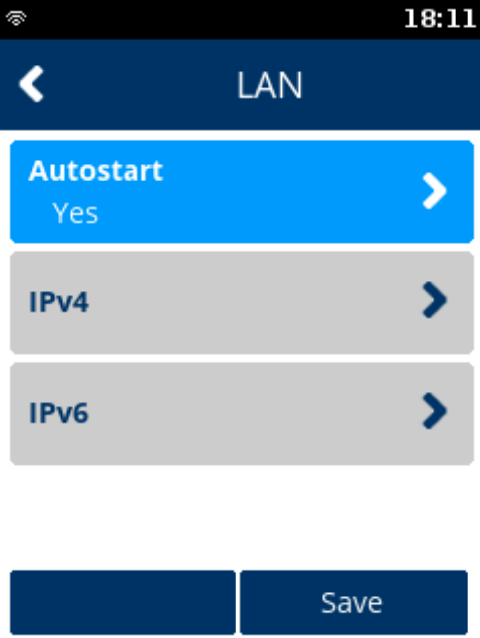
The default is DHCP, if you require static IPs then follow steps 12-18 if not, skip to step 18.
12. Select Option 2, DHCP.
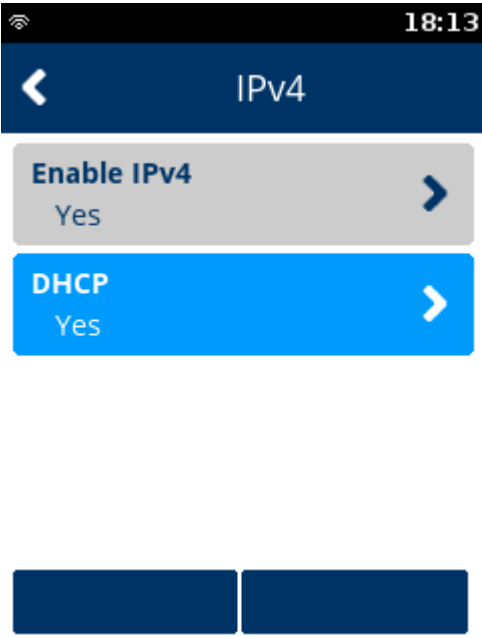
13. Select Option 1, No.
Note: By selecting No, it will then enable 5 additional menu options.
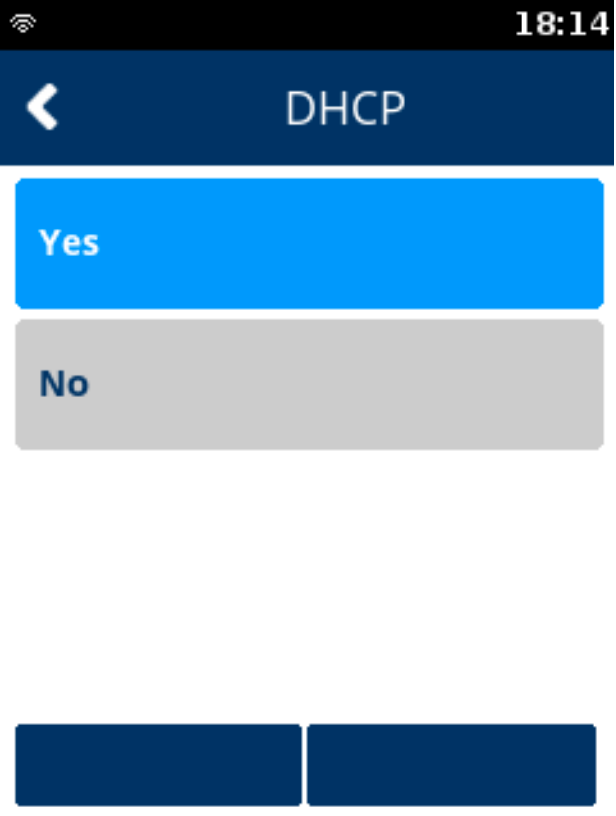
14. Select Option 3, IP Address.
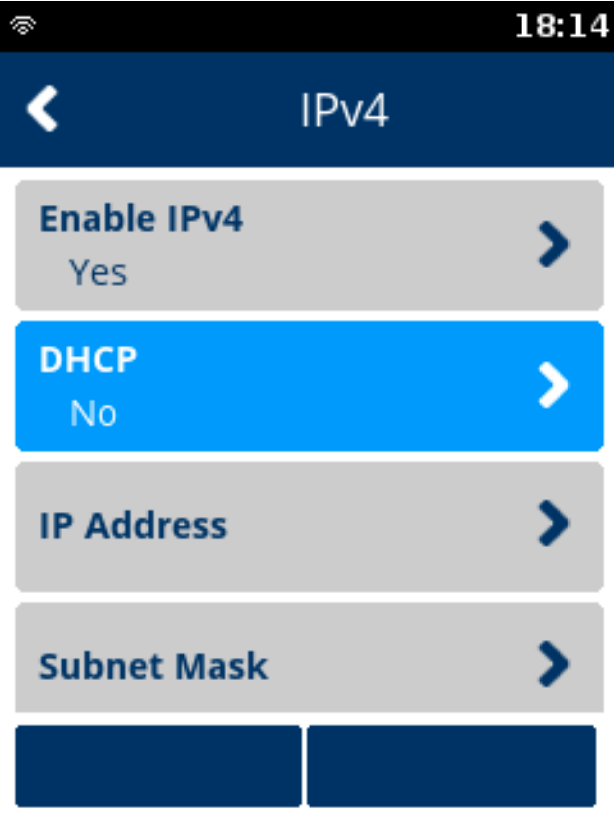
15. Enter the required IP address.
Note: If a field is not 3 digits long, then you must enter the leading zeros.
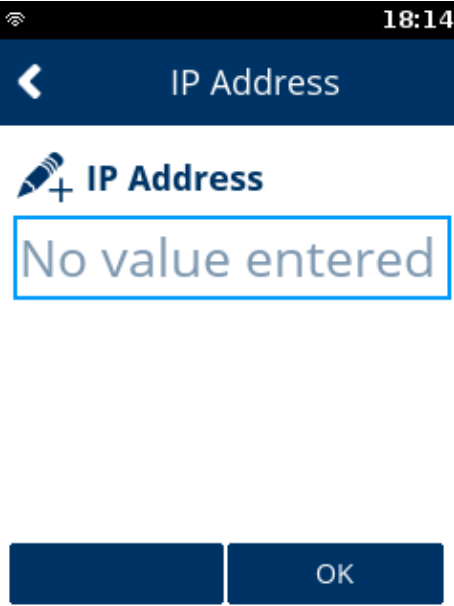
16. Repeat steps 15 and 16 for Subnet Mask, Gateway IP Address and DNS 1.
17. Press the red cross button.
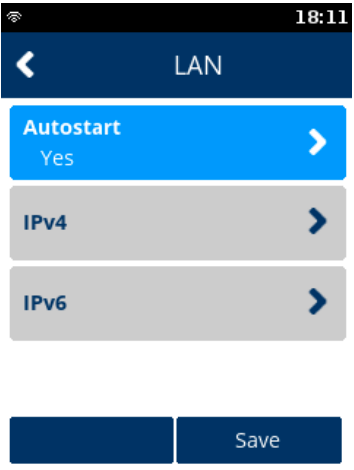
18. Press Save using the top right hand button.
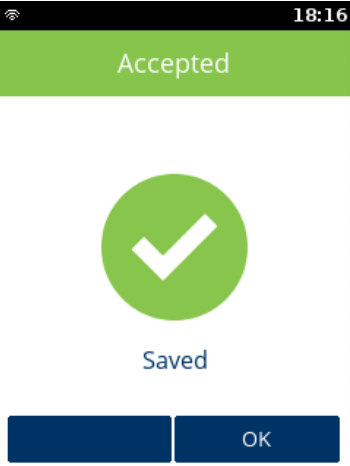
19. When “Saved” is displayed press the green circle button.
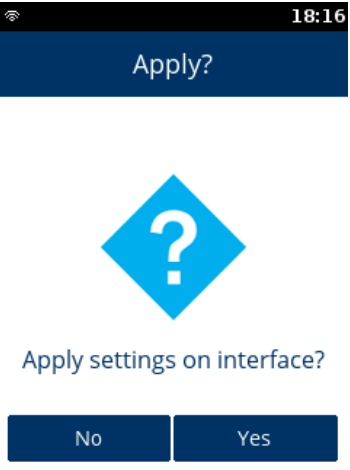
20. Select Yes to “Apply settings on interface?”
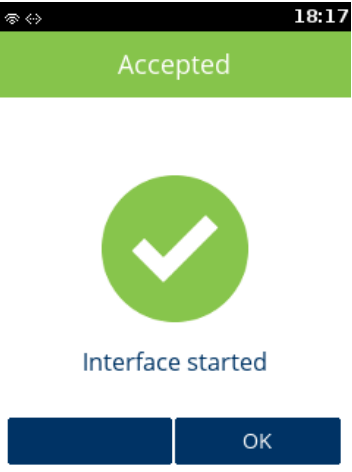
21. Select Yes to “Interface started”.
23. Press the red cross button.
24. Press the red cross button.
25. Select Option 1, Status.
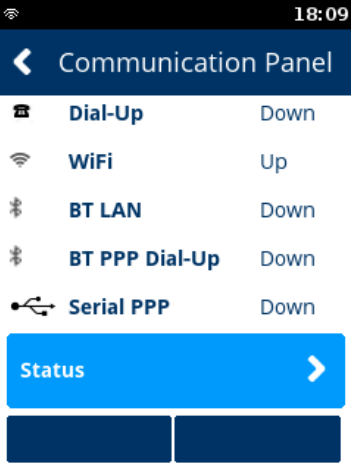
26. Select Option 1, IP Addresses.
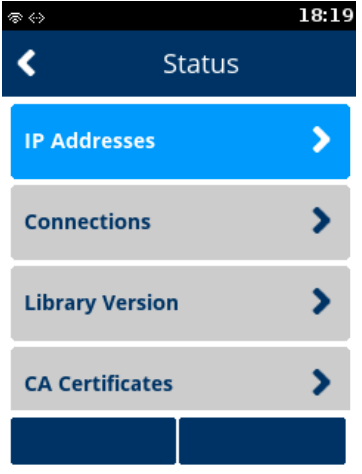
27. Select Option 1, LAN.
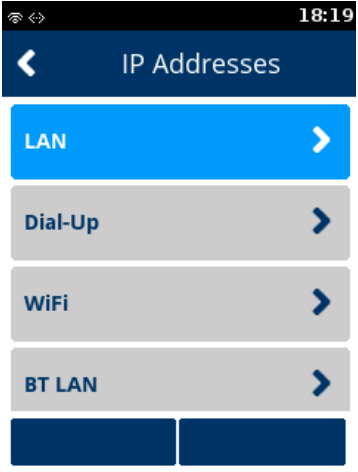
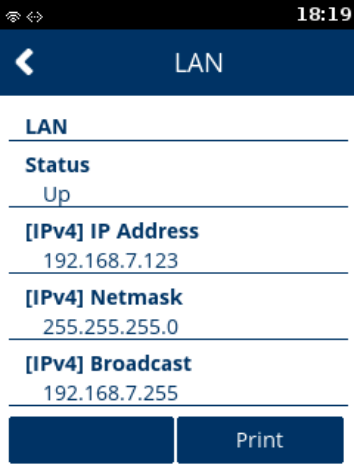
28. Check that the status is Up.
Note: If the status is not Up, repeat the network setup steps.
29. Press the red cross button until you are back at the Login screen.
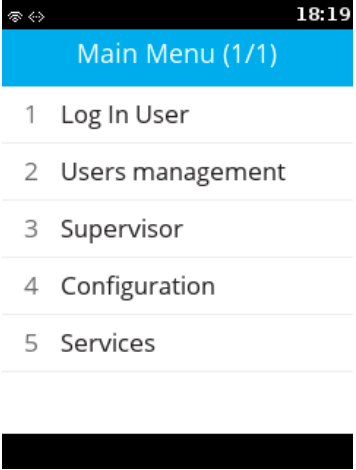
Your V200C Verifone Ethernet Connection is now complete. For further assistance, contact the help desk below.
